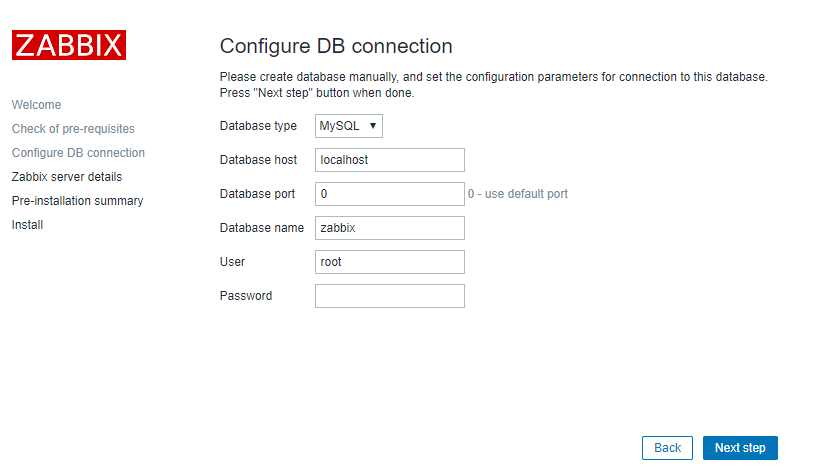
前提:本机没有安装mysql
1.用vi把下面命令保存为install_zabbix.sh
# !/bin/bash
# author : hobby
# Zabbix one-click installation script centos7 zabbix4.0使用
# Turn off the firewalld
systemctl stop firewalld
# Turn off the firewalld and start automatically
systemctl disable firewalld
# Temporarily turn off selinux
setenforce 0
# Set selinux off permanently
sed -i 's/SELINUX=enforcing/SELINUX=disabled/' /etc/selinux/config
# Install zabbix source, aliyun YUM source, zabbix source
curl -o /etc/yum.repos.d/CentOS-Base.repo http://mirrors.aliyun.com/repo/Centos-7.repo
curl -o /etc/yum.repos.d/epel.repo http://mirrors.aliyun.com/repo/epel-7.repo
rpm -Uvh https://repo.zabbix.com/zabbix/4.0/rhel/7/x86_64/zabbix-release-4.0-1.el7.noarch.rpm
yum clean all
# Install zabbix and related services
yum install -y zabbix-server-mysql zabbix-web-mysql
# Install and start the mariadb database
yum install -y  mariadb-server
systemctl start mariadb.service
# Create the zabbix database
mysql -e 'create database zabbix character set utf8 collate utf8_bin;'
mysql -e 'grant all privileges on zabbix.* to zabbix@localhost identified by "zabbix";'

# Import data of zabbix
# 此处导入数据时,请注意server-mysql的版本,可以用table键补齐版本,目前最新的版本是4.0.12
zcat /usr/share/doc/zabbix-server-mysql-*/create.sql.gz|mysql -uzabbix -pzabbix zabbix
# Configure the zabbix server to connect to the database
sed -i.ori '115a DBPassword=zabbix' /etc/zabbix/zabbix_server.conf
# Add the time zone
sed -i.ori '18a php_value date.timezone  Asia/Shanghai' /etc/httpd/conf.d/zabbix.conf
# Solve Chinese garbled code
yum -y install wqy-microhei-fonts
\cp /usr/share/fonts/wqy-microhei/wqy-microhei.ttc /usr/share/fonts/dejavu/DejaVuSans.ttf
# Start zabbix and httpd
systemctl start zabbix-server
systemctl start httpd
# Write boot start.
chmod +x /etc/rc.d/rc.local
cat >>/etc/rc.d/rc.local<<EOF
systemctl start mariadb.service
systemctl start httpd
systemctl start zabbix-server
EOF
#输出信息
echo "浏览器访问 http://`hostname -I|awk '{print $1}'`/zabbix"
2.赋予权限并执行脚本
chmod 744 install_zabbix.sh
./install_zabbix.sh
3.等待安装完后,如果提示systemctl start httpd启动失败,说明80端口被占用,我们修改一下即可
vim /etc/httpd/conf/httpd.conf
找到Listen那一行,把80改为81或者其它。

4.重新启动http
systemctl start httpd
5.修改一下mysql密码
mysql -u root
use mysql;
update user set password=password('新密码') where user='root';
exit;
6.浏览器中输入本机ip:81(比如http://192.160.0.105:81)

7.重启mysql
systemctl restart mariadb
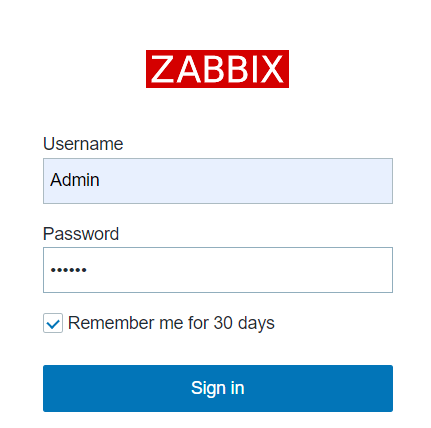
8.安装完后,登录一下,默认账号为Admin,密码为zabbix

被监控的机器安装一下agent客户端
1.安装agent
yum install -y zabbix-agent
2.修改配置文件,配置一下zabbix-server的地址
vim /etc/zabbix/zabbix_agentd.conf
找到Server这行,改一下地址

然后Server-active也修改一下

还需修改一下hostname

3.重启一下agent客户端服务
service zabbix-agent restart
